Jack is an incredibly flexible piece of software for making audio connections. It’s mostly used to connect and patch virtually within one computer but it has a range of amazing extra features for connecting things in alternative ways.
This is exploited to it’s fullest in the zita-njbridge package.
To quote from the manual on zita-njbridge:
The zita-j2n (sender) and zita-n2j (receiver) applications allow to exchange up to 64 channels of full-quality uncompressed audio streams between two or more systems running the Jack audio server. Sender and receiver(s) can each have their own sample rate and period size, and no word clock sync between them is assumed. The receiver uses adaptive resampling to convert the audio stream(s) to its local sample rate.
With this tiny piece of extra software you can make audio connections between computers across a network. This way, it’s possible to stream full quality audio from one computer to another for networked audio projects.
I have previously used this technique to connect my Linux laptop to a Windows audio server in Notam’s 3D-audio studio to work around the problem of missing drivers for good multichannel audio interfaces on Linux and instead stream the audio over the network to a computer that is able to connect to an interface.
I have - to my own surprise - had great results with this (working with 25 channels of audio) so I have been really curious about what can be done on the powerful Raspberry Pi 4 in this regard.
Note, this post exemplifies how to do this with a Raspberry Pi but it could be any two (or more) computers that have jack installed.
Important: Do not try this over wifi. Wifi will cause significant dropouts in the audio. To get good results, a wired ethernet connection is mandatory (on both the Raspberry Pi and the laptop). Also, make sure that the laptop receiving the audio is not running on wifi concurrently with the wired ethernet connection.
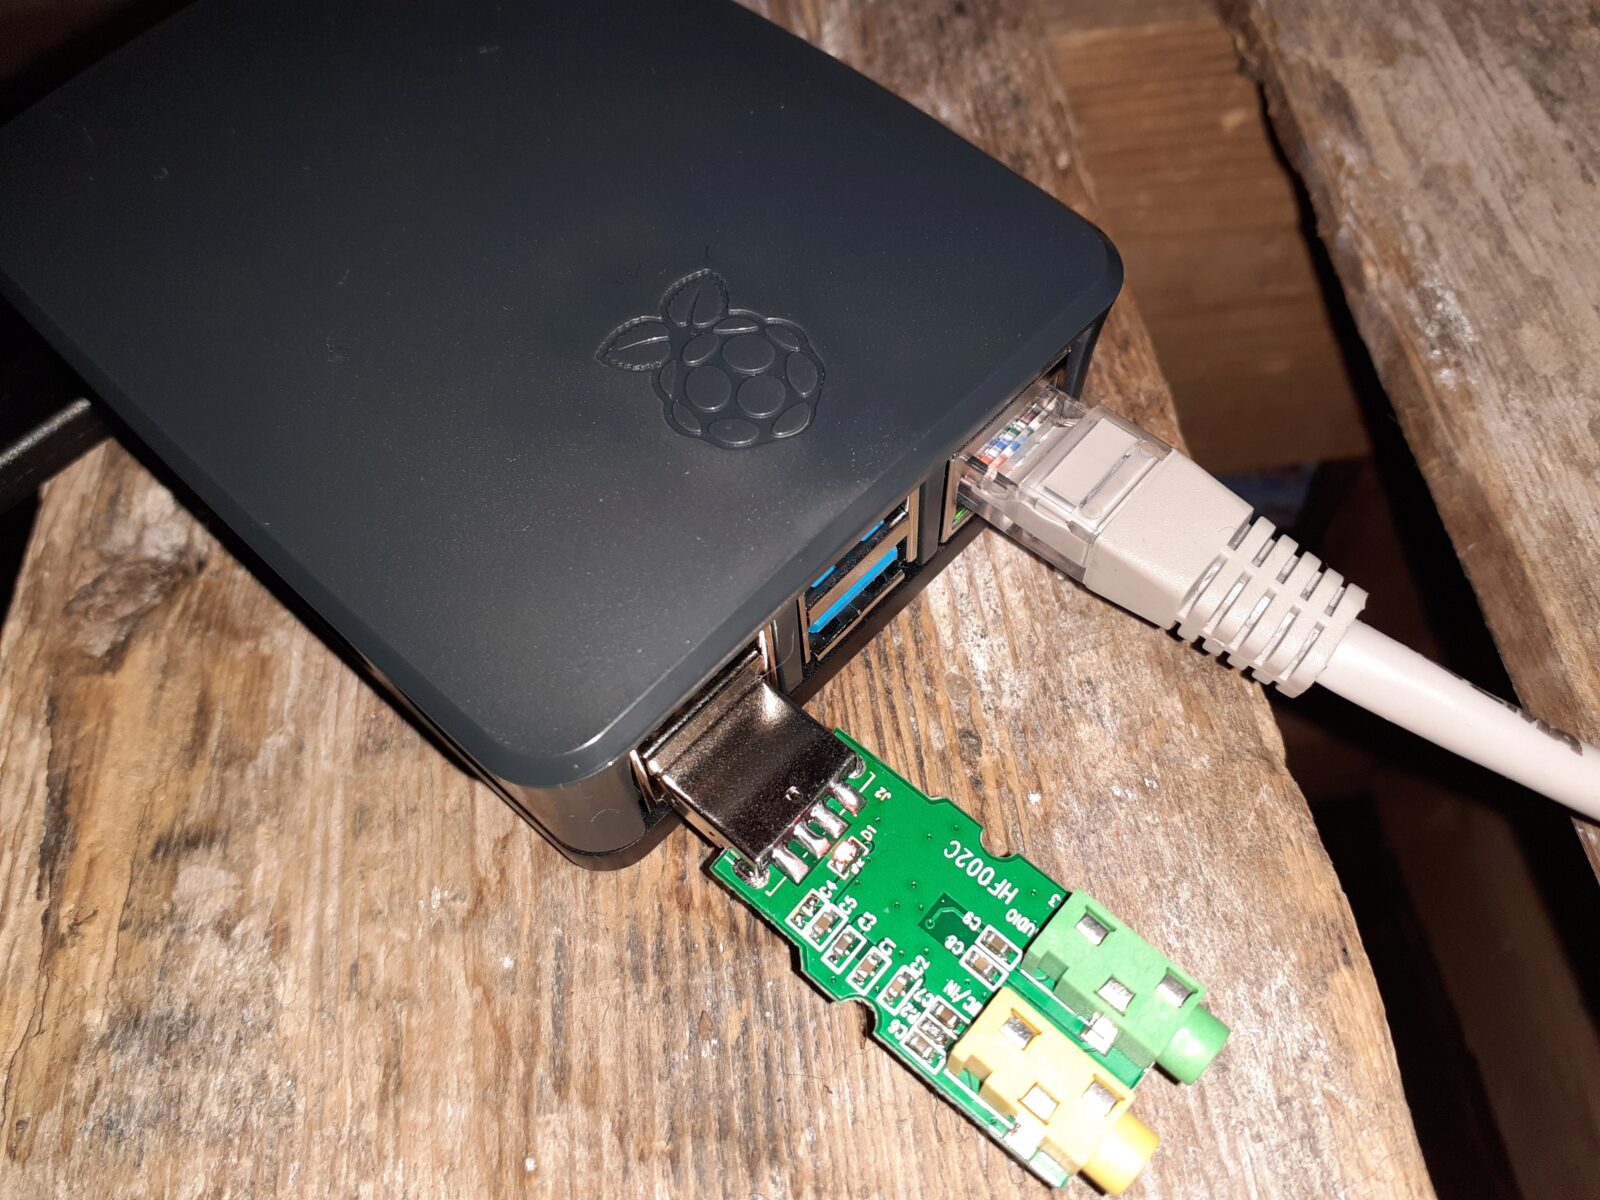
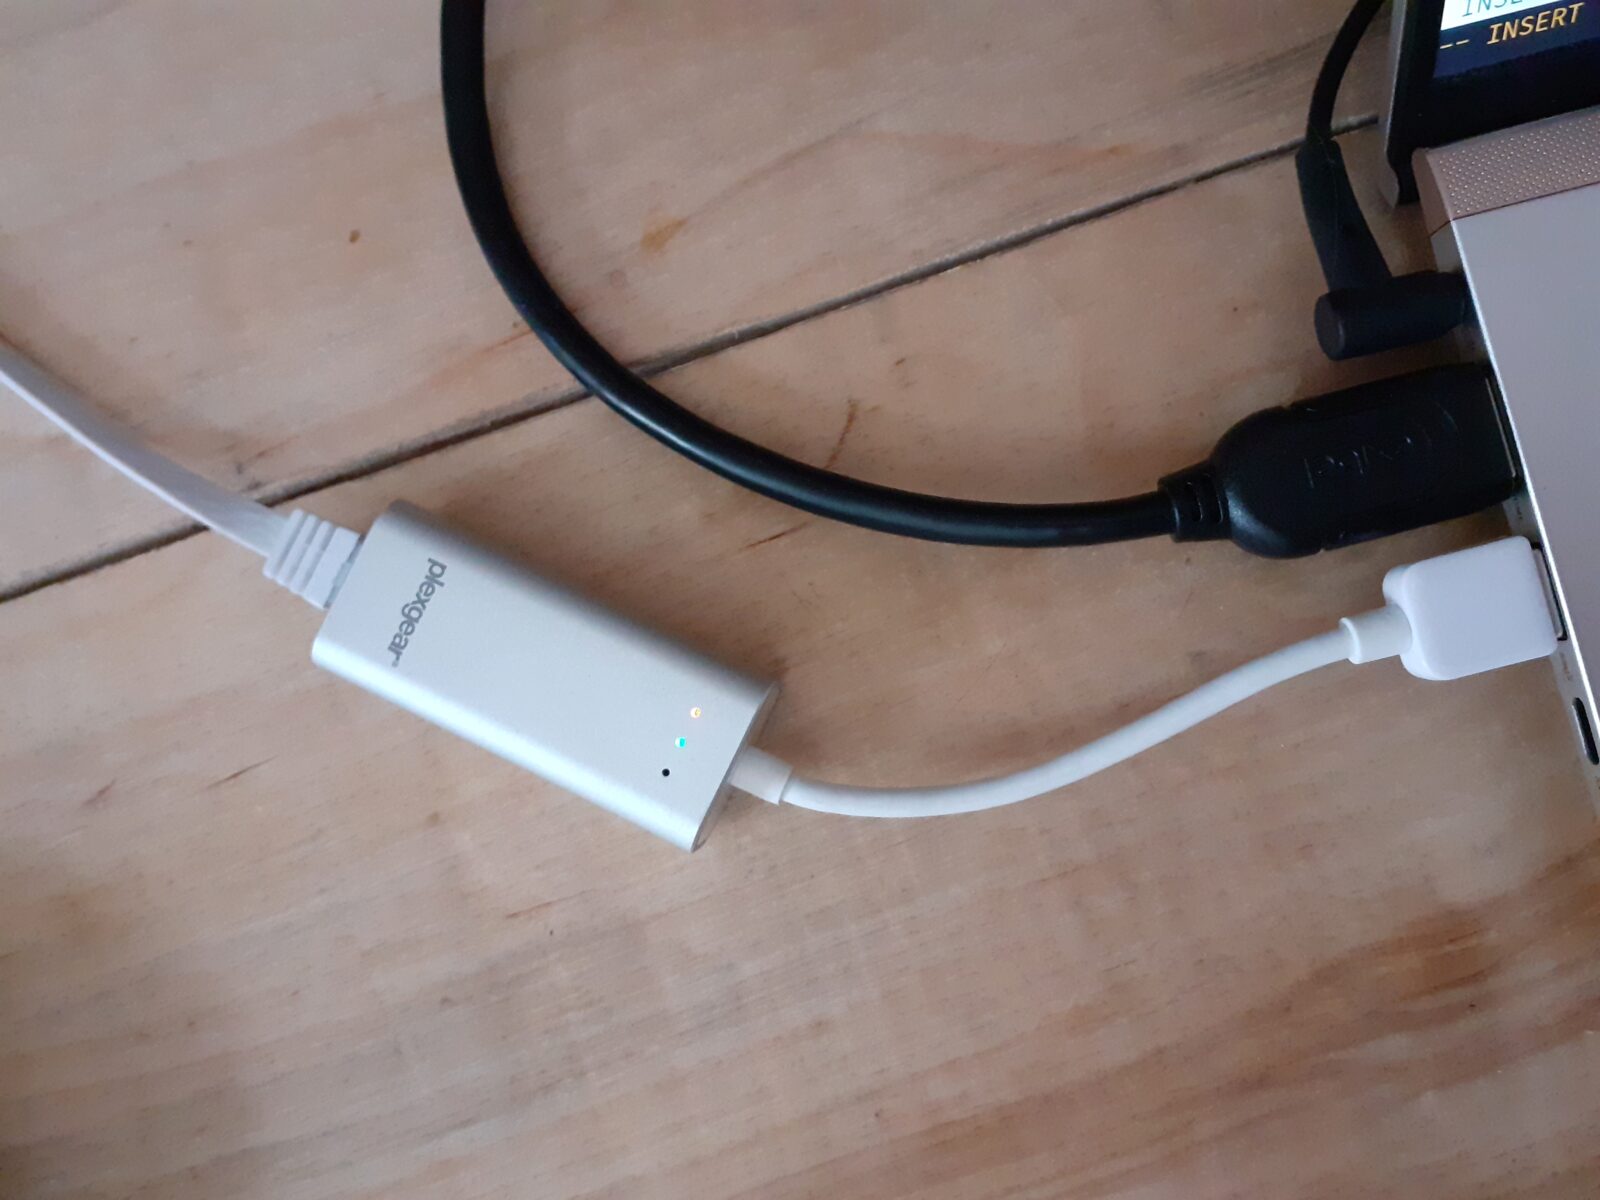 If your computer doesn’t have an ethernet port you can buy cheap usb adapters that will give you one.
Workflow overview
I am doing this on a Raspberry Pi 4 with both the Pi and my laptop connected to the same network using an ethernet cable.
You need the ip address of your laptop (or whatever computer is receiving the audio on the network). I won’t go into details on how to do this because it varies wildly from operating system to operating system, but I will assume you know the local ip address of your receiving computer.
We will be working with the Pi running in headless mode using Raspbian Lite. For more information on how to setup that up, see this post.
Running the Pi in headless mode poses a problem (which we will solve): We need to run multiple pieces of software at the same time on the command line. I solve this using tmux which is a “terminal multiplexer”, meaning: This let’s you run multiple windows and panes in the terminal as you would be able to in a desktop environment more or less.
Necessary steps
Let’s first take a look at the steps necessary to make this work. We’ll go through each step below in a bit more detail and then finish off with a setup script for the Pi which does most of this for us.
Steps on the Raspberry Pi
- Install dependencies
- Launch
tmux - Launch
jack - Launch
zita-j2n(jack 2 network) - Launch something that can output sound to Jack (SuperCollider in this case but might as well be Csound, Pure Data or something else)
- Connect the virtual patch cords of your sound process’ (SuperCollider) output to the zita-j2n output.
Steps on the laptop / pc
- Launch
jack - Launch
zita-n2j(network 2 jack) - Connect input from
zita-n2jto system output to be able to listen to it.
Setting up the Raspberry Pi
At the end of this post I will get back to tmux and how to launch these commands simultaneously in a terminal, but for now let’s go through each command needed.
First, install dependencies:
sudo apt-get install tmux zita-njbridge jackd2
Let’s start jack on the pi using some sensible settings. Assuming your Pi has a USB audio interface connected, the hardware number (this is the -dhw:1 bit below) should be 1. If you are using (which you shouldn’t) the internal interface on the Pi, change this to 0.
# Launch jack using card 0, 48khz sample rate and block size of 256
/usr/bin/jackd -dalsa -dhw:1 -r48000 -p256 -n2
Once jack is up and running, the next step is to run zita-njbridge.
zita-njbridge contains two commands:
zita-j2n- transmit audio from jack to the network (hence “j2n” = jack2net)zita-n2j- receive audio from the network to jack (hence “n2j” = net2jack)
On both ends of the connection, these commands take the same arguments: an ip address and a port number.
Both of these commands should be the ip address and port of the receiving computer (for more information, read the manual by executing man zita-njbridge).
My laptop, which is the computer receiving the audio, has the local ip address 10.0.1.5 and for the port number, we can just make up something, how about 1234?
With these two bits of information, we can launch zita-j2n on the Pi:
zita-j2n 10.0.1.5 1234
Note, this command doesn’t output anything, so don’t freak out if you don’t see anything happen in the terminal when you execute this.
Start SuperCollider
As mentioned, in this example we will be using SuperCollider but any software that can run in headless mode on the Pi may be used. If you haven’t installed it already, there are scripts for doing so here.
From the command line, you can create a simple SuperCollider test file which will make the SuperCollider server boot and then play a stereo sine wave.
Using echo we can create a small test file in your home directory called test.scd
echo "
		// Boot server and play stereo sine wave
		s.waitForBoot{
		play{
		SinOsc.ar([440, 441], mul: 0.5).poll(1)
	}
	}" > "$HOME/test.scd"
And then launch that same file using the SuperCollider language:
sclang $HOME/test.scd
Connect jack
Open up a terminal and type jack_lsp to see the available connections in jack.
These are the connections for our virtual patch cords.
We can connect these on the command line using the jack_connect command.
If zita-njbridge and SuperCollider are running, you should see the output of jack_lsp contain connection points for both of these.
Execute these commands to connect output 1 and 2 of SuperCollider to inputs 1 and 2 of zita-j2n:
jack_connect SuperCollider:out_1 zita-j2n:in_1
jack_connect SuperCollider:out_2 zita-j2n:in_2
Make sure these commands don’t output any errors before continuing.
On the receiving computer
Then start receiving sound from zita. Note that this is the same ip and port as typed into the command in the Raspberry Pi, but the command itself is slightly different
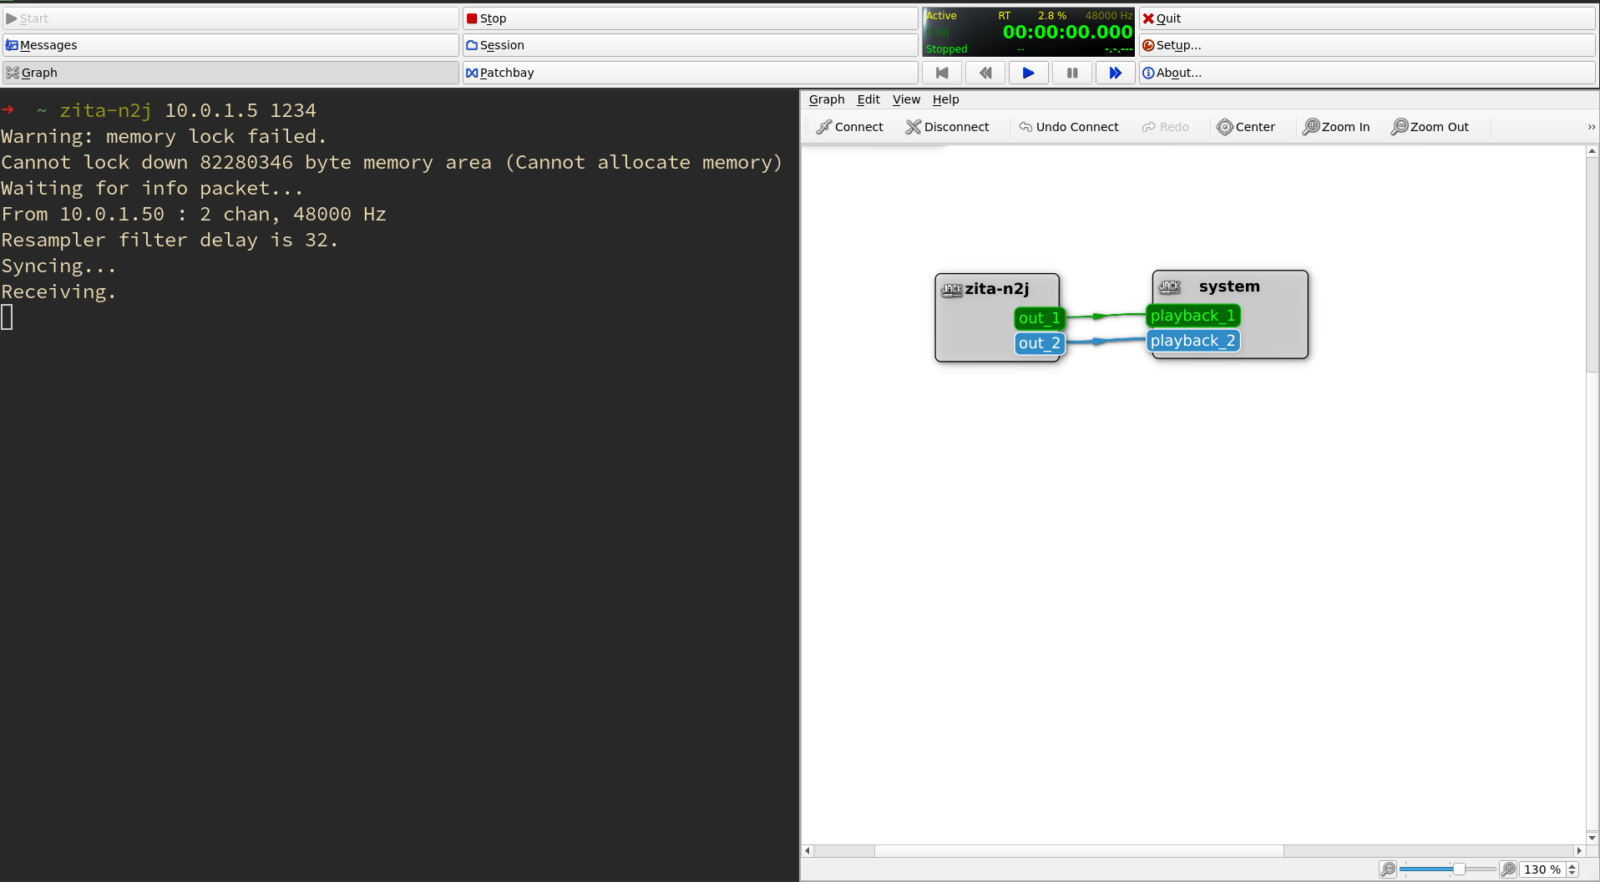
zita-n2j 10.0.1.5 1234
This should result in a message like:
From 10.0.1.50 : 2 chan, 44100 Hz
Resampler filter delay is 48.
Syncing...
Receiving.
If this isn’t working, consider taking a look at your system’s firewall to open up the port (1234 in the example above) used here.
Patch the network input to your speakers
Open up your jack patcher - either carla, catia or qjackctl if you are using a graphical patcher - and patch the zita object on the graph to your system’s output.
Bringing it all together in a script
These steps may seem like a bit of a mouthful but they are easily automated.
As mentioned in the beginning, to be able to run multiple processes in the command line (and be able to see them), we may use tmux.
Tmux isn’t exactly an easy program to use for beginners, but by default you may navigate it using the prefix command Ctrl-b followed by something else. Ctrl-b 1 will move you to window 1, Ctrl-b 2 window 2, etc..
Apart from solving the obvious problem of not being able to see multiple processes at the same time, Tmux is great for automation. We can set up and launch programs in Tmux automatically. This means we can bring together all commands from above in a setup script to be launched on the Pi. With this, we only need to launch this on the pi and it will transmit sound on the network.
I’ve written a full script for this which is available here.
You can download this on your Pi by executing this command:
# Get startup script and make it executable
git clone https://gist.github.com/madskjeldgaard/1a1e58a36f2d7526cd28524f5fd75946 && \
	mv 1a1e58a36f2d7526cd28524f5fd75946/njstart . && \
	rm -rf 1a1e58a36f2d7526cd28524f5fd75946 && \
	chmod +x njstart
Using it is fairly simple. You run the script like so:
./njstart <ipaddress> <port> <supercolliderfile>
It has three arguments. The ip address and port of the receiving computer (your laptop) and an optional third argument for a SuperCollider file to be launched. If the third argument isn’t supplied it will use the file in ~/test.scd if it exists or create one if it doesn’t.
Then, using the same ip address and port, run zita-n2j on the receiving computer to receive the audio from the Pi.
This is the full script: